Kitchen Science Experiments
Simple and Safe Science Activities for Ages 5-8
Introduction
Welcome to our Kitchen Science Experiments guide! These activities are designed for children ages 5-8 and use everyday kitchen items to explore basic scientific concepts. Each experiment requires minimal preparation, uses safe household ingredients, and includes simple explanations of the science behind the fun.
What you’ll find in this guide:
- Easy-to-follow instructions for 6 kitchen science experiments
- Materials lists using common household items
- Simple scientific explanations suitable for young children
- Extension ideas to deepen learning
- Questions to spark curiosity and discussion
Why Kitchen Science?
Science doesn’t need expensive equipment or complicated setups. By using familiar kitchen items, we can:
- Make science accessible and less intimidating
- Connect scientific concepts to everyday life
- Create memorable learning experiences through hands-on discovery
- Encourage scientific thinking without leaving home
Let’s turn your kitchen into a laboratory of discovery!
Experiment 1: Dancing Raisins
Materials:
- Clear glass or jar
- Carbonated water or clear soda
- Raisins
Time required: 10-15 minutes
Safety notes: Safe for all ages with adult supervision.
Instructions:
- Fill the glass about ¾ full with carbonated water or clear soda.
- Drop 5-10 raisins into the glass.
- Watch what happens over the next few minutes!
What’s Happening?
The carbonated liquid contains carbon dioxide gas in the form of bubbles. These bubbles attach to the wrinkly surface of the raisins. When enough bubbles attach, they act like tiny flotation devices and carry the raisins to the surface. At the surface, the bubbles pop, releasing the gas into the air. Without the bubbles to keep them afloat, the raisins sink back down. The process repeats as new bubbles form on the raisins.
Questions to Ask:
- What happens when you use more or fewer raisins?
- Do all raisins move at the same speed?
- What happens if you use flat (non-carbonated) water instead?
- Would other small foods (like cranberries or cereal) dance too?
Extension Activity:
Try different carbonated beverages to see if some create more movement than others. Make predictions and record your results.
Experiment 2: Magic Milk Colors
Materials:
- Shallow dish or plate
- Whole milk (works better than low-fat)
- Food coloring (multiple colors)
- Dish soap
- Cotton swabs
Time required: 15 minutes
Safety notes: Not for consumption. Adult supervision required.
Instructions:
- Pour enough milk to cover the bottom of the dish, about ¼ inch deep.
- Add several drops of different food coloring scattered around the surface of the milk.
- Dip a cotton swab in dish soap.
- Touch the soap-dipped swab to the surface of the milk in the center of the dish.
- Watch the explosion of color!
What’s Happening?
Milk contains fat and proteins. When you add dish soap, it breaks up the fat molecules. This creates movement in the milk as the soap spreads out, carrying the food coloring with it in swirling patterns. Dish soap molecules have two ends – one that attaches to fat and one that attaches to water. This is why soap is good at cleaning – it can connect to both grease and water!
Questions to Ask:
- What happens if you touch different parts of the milk surface?
- How long does the reaction continue?
- What patterns do you notice in the color movement?
- What do you predict would happen with low-fat or non-fat milk?
Extension Activity:
Compare the results using different types of milk (whole, 2%, skim). Make a chart showing the differences in color movement.
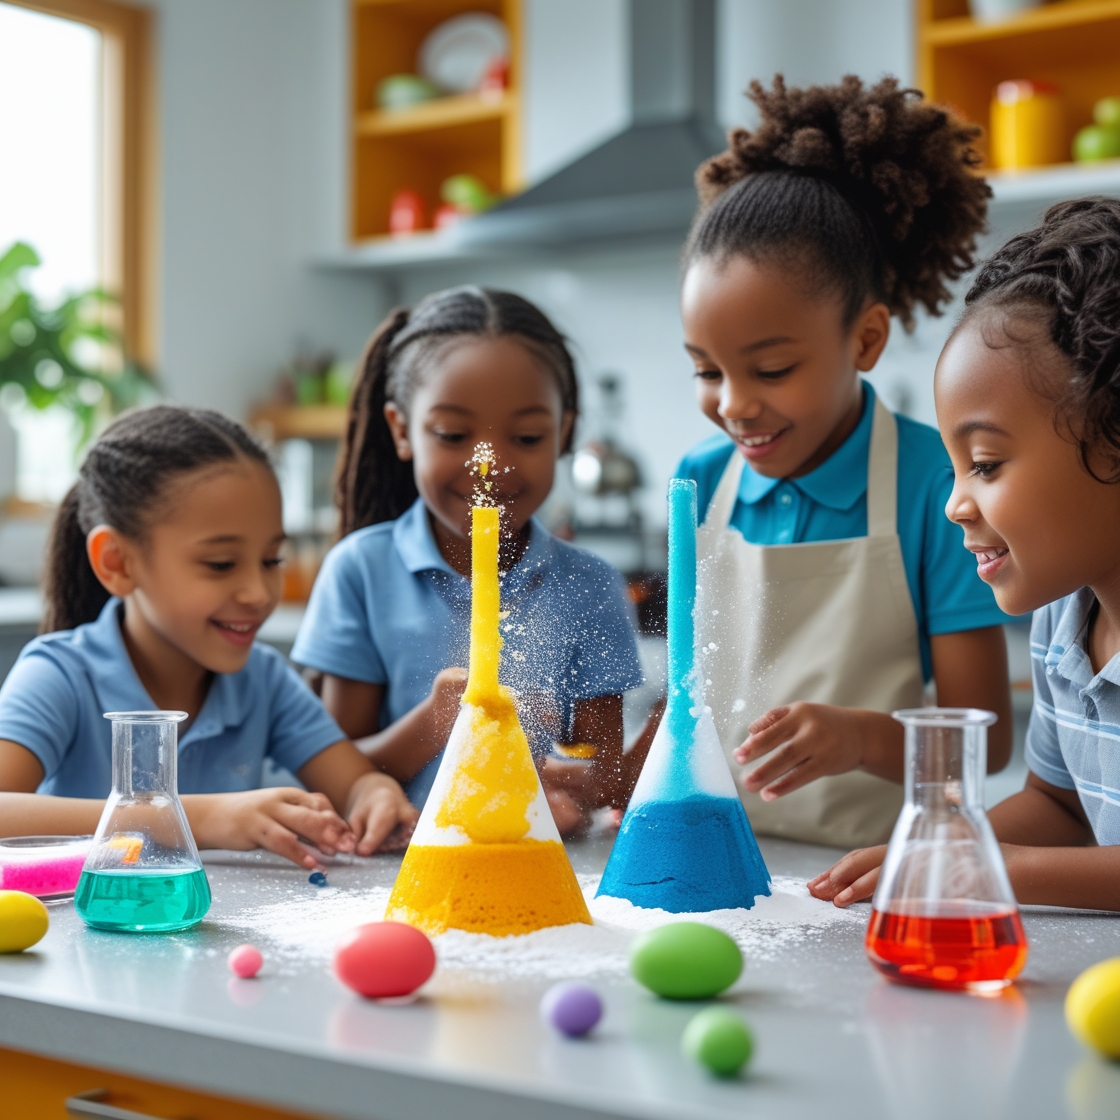
Experiment 3: Lemon Volcano
Materials:
- 1 lemon
- Baking soda
- Dish soap
- Food coloring (optional)
- Small plate or tray
- Knife (for adult use only)
Time required: 10 minutes
Safety notes: Adult should cut the lemon. Not for consumption after experiment.
Instructions:
- Place the lemon on a plate or tray.
- Have an adult cut off the top of the lemon to create a flat surface.
- Use a fork or spoon to squish and stir the inside of the lemon a bit, keeping everything inside the lemon.
- Add a few drops of dish soap to the lemon.
- Add a few drops of food coloring if desired.
- Sprinkle 1-2 teaspoons of baking soda onto the lemon and watch what happens!
- You can add more baking soda as the reaction slows down.
What’s Happening?
Lemons contain citric acid. When the acid mixes with the baking soda (sodium bicarbonate), a chemical reaction occurs, creating carbon dioxide gas. The bubbles you see are this gas being released. The dish soap helps to create larger, longer-lasting bubbles that make the “eruption” more dramatic.
Questions to Ask:
- What do you notice about the bubbles?
- Can you hear any sounds during the reaction?
- What happens if you add more baking soda?
- Would other fruits work the same way?
Extension Activity:
Try the same experiment with other citrus fruits (limes, oranges, grapefruits) and compare their reactions. Which creates the biggest eruption?
Experiment 4: Rainbow Walking Water
Materials:
- 7 clear cups or glasses
- Water
- Food coloring (red, yellow, blue)
- Paper towels
- Scissors
Time required: Initial setup 15 minutes, then observation over 24 hours
Safety notes: Safe for all ages with adult supervision.
Instructions:
- Arrange the 7 cups in a row.
- Fill cups 1, 3, 5, and 7 about halfway with water.
- Leave cups 2, 4, and 6 empty.
- Add red food coloring to cup 1, yellow to cup 3, and blue to cup 5. Cup 7 stays clear.
- Cut 6 paper towel strips (about 1-inch wide and long enough to reach between cups).
- Fold each paper towel strip in half lengthwise.
- Place one end of a paper towel strip into cup 1 and the other end into cup 2.
- Continue connecting all cups with paper towel strips.
- Observe what happens over the next few hours and day.
What’s Happening?
This experiment demonstrates capillary action and color mixing. The paper towel fibers act like tiny tubes that pull the water upward against gravity (capillary action) – the same way plants draw water up from their roots. As the colored water travels up the paper towel and into the empty cups, the colors mix to create new colors in cups 2, 4, and 6.
Questions to Ask:
- How fast does the water move up the paper towels?
- What new colors are formed when the original colors mix?
- What would happen if you used different starting colors?
- What happens to the water levels in all cups after 24 hours?
Extension Activity:
Create a prediction chart of what colors will appear in each cup, then observe to check your predictions. Try different arrangements of colors to create different rainbow patterns.
Experiment 5: Sink or Float Surprise
Materials:
- Large transparent container filled with water
- Various kitchen items such as:
- Fruit (apple, orange, grape, etc.)
- Vegetables (carrot, potato, etc.)
- Metal items (spoon, fork)
- Plastic items
- Wooden items
- Towel for cleanup
- Paper and pencil for recording predictions
Time required: 20 minutes
Safety notes: Adult supervision with water activities. Items may get wet.
Instructions:
- Fill the container about ¾ full with water.
- Before testing each item, have your child predict whether it will sink or float.
- Record predictions on paper.
- Place each item in the water and observe what happens.
- Record the actual results.
- Compare predictions with results.
What’s Happening?
Whether something sinks or floats depends on its density (how heavy it is compared to its size) relative to water. If an object is more dense than water, it sinks. If it’s less dense, it floats. Some objects that seem heavy can float because of their shape or because they contain air.
The Surprise Element:
Test an orange with its peel on, then peel it and test again. Most children are surprised to see that an unpeeled orange floats, but once peeled, it sinks! This happens because the peel contains tiny air pockets that help the orange float.
Questions to Ask:
- Were your predictions correct? Which ones surprised you?
- Why might some heavy things float while some light things sink?
- What happens if you change the shape of objects that can be reshaped (like aluminum foil)?
- Can you make a sinker float by changing its shape?
Extension Activity:
Try making aluminum foil boats. See how many pennies or small objects your boat can hold before sinking. Experiment with different boat shapes.
Experiment 6: Homemade Slime
Materials:
- 1 tablespoon cornstarch
- 1 tablespoon dish soap
- Food coloring (optional)
- Small bowl
- Spoon for stirring
Time required: 15 minutes
Safety notes: Not for consumption. Adult supervision required.
Instructions:
- Place the cornstarch in the bowl.
- Add the dish soap and mix well.
- If desired, add a drop or two of food coloring and mix.
- Stir until the mixture becomes thick and slime-like.
- If it’s too thick, add a few drops of water. If too thin, add a pinch more cornstarch.
- Play with your slime!
What’s Happening?
This slime is a non-Newtonian fluid, which means it doesn’t behave like normal liquids. When pressure is applied (like squeezing or hitting), the particles of cornstarch get temporarily locked together, making the slime feel solid. When you relax your grip or let it sit, it flows like a liquid again.
Questions to Ask:
- How does the slime feel when you squeeze it versus when you let it sit in your hand?
- What happens when you try to roll it into a ball?
- Can you pour it slowly? What about quickly?
- What happens if you tap it hard versus gently?
Extension Activity:
Explore how temperature affects your slime. Put some in the refrigerator for 15 minutes, then compare how it behaves compared to room-temperature slime.
Science Skills Development
These kitchen science experiments help children develop important science skills:
- Observing: Using senses to gather information
- Predicting: Making an educated guess about what will happen
- Testing: Carrying out an experiment to see what actually happens
- Recording: Documenting observations and results
- Drawing conclusions: Explaining why something happened based on observations
Tips for Parents
- Let your child take the lead in predicting what will happen
- Ask open-ended questions rather than providing answers
- Encourage careful observation and detailed descriptions
- Help your child connect these experiments to everyday phenomena
- Don’t worry about “correct” explanations – focus on the process of discovery
More Resources
For more kitchen science fun, check out these other resources on our Parent Resource Hub:
Share Your Experiments!
We’d love to see your kitchen science in action! Share photos of your experiments on social media with the hashtag #EduRecodedScience or email them to community@educationrecoded.org.
Remember, the goal is to have fun while learning. The messier the experiment, the better the memory! (Just keep a towel handy.)
© 2025 Education Recoded | Parent Resource Hub